Pan-Made Nut and Seed Bars | Healthy, Easy, Paleo
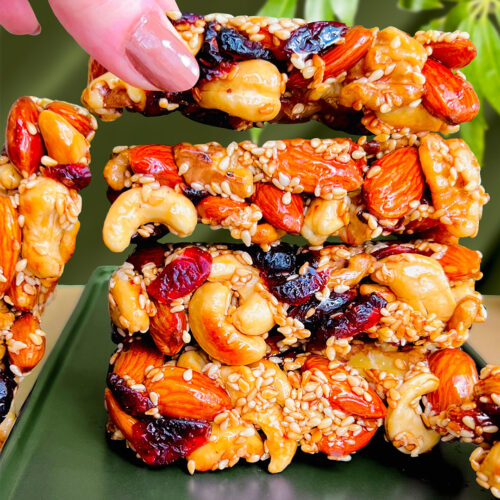
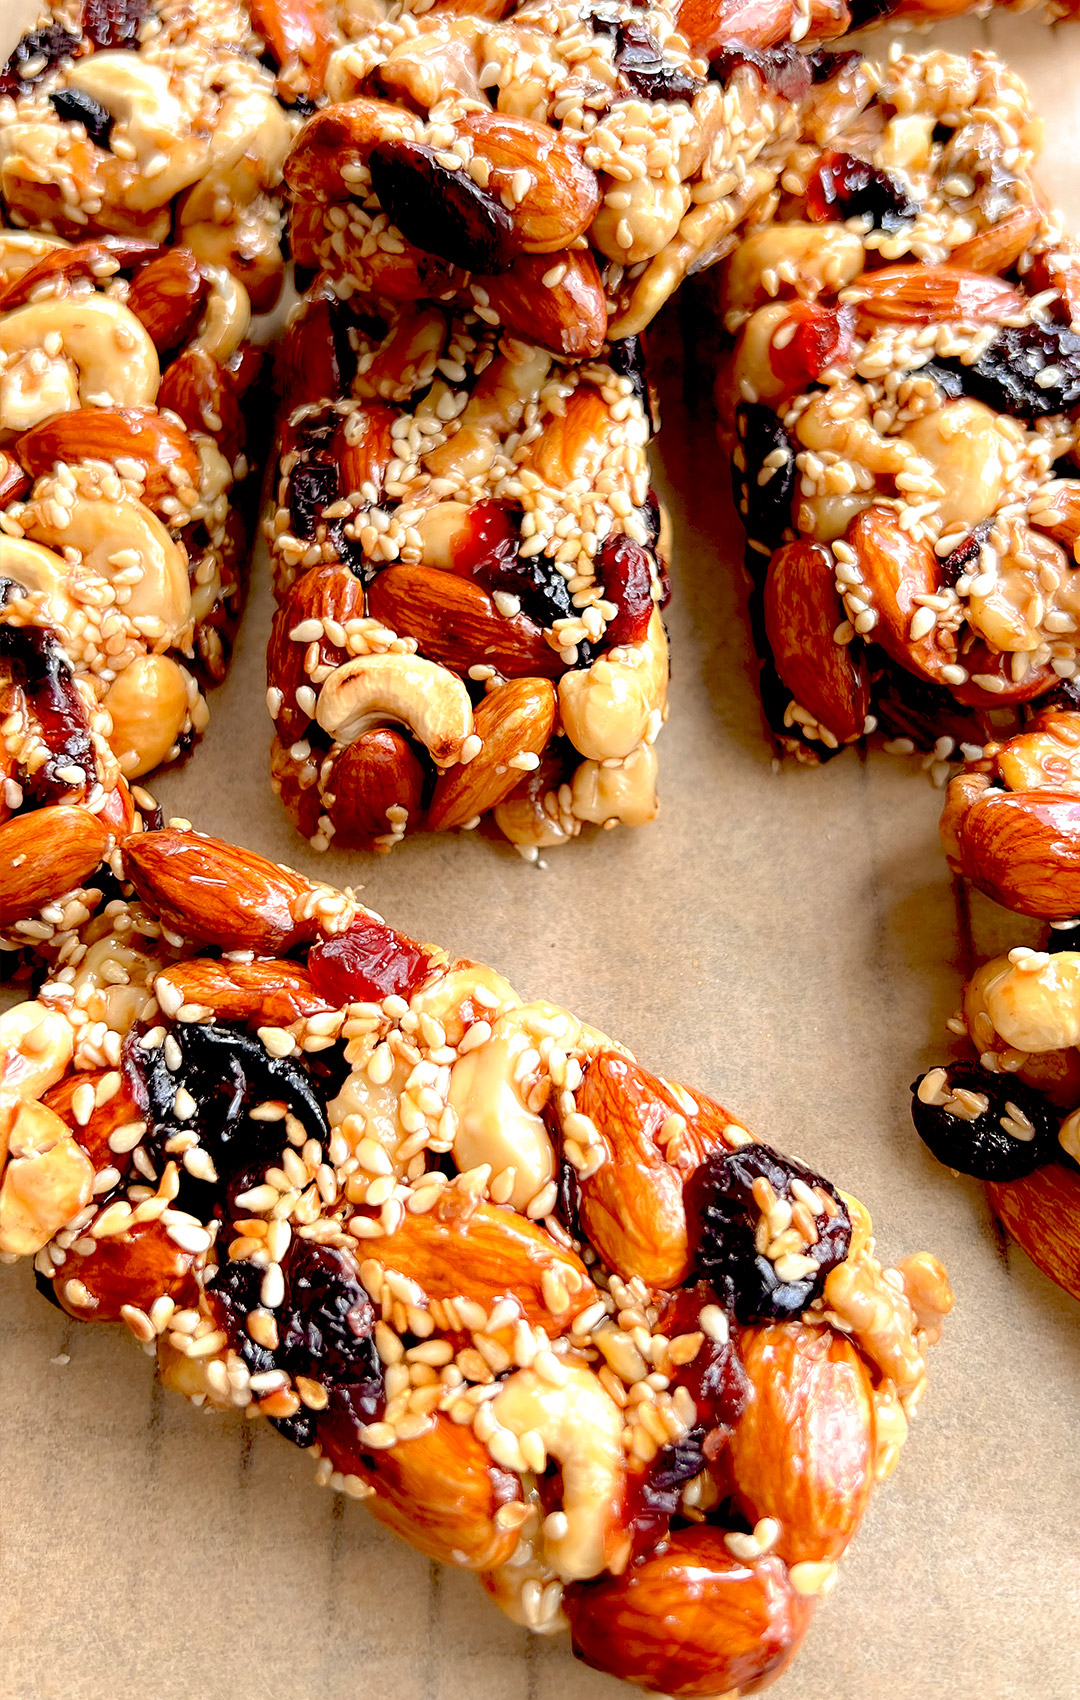
These homemade nut bars are a game-changer, made in a single pan. Naturally sweetened and free from refined sugars, oils, and grains, they’re crunchy, delicious, and packed with protein, fibre, and healthy fats. Perfect for an energy-boosting snack that’s much healthier than store-bought options.
Ingredients
- ¾ cup (100g) almonds
- ¾ cup (100g) cashews
- ¾ cup (100g) walnuts
- ¼ cup +2 tablespoons (40g) sesame seeds
- ¼ cup (30g) dried cranberries (no added sugar)
- ¼ cup (60ml) honey or maple syrup for vegan option
- ½ teaspoon vanilla extract
- pinch of salt
Instructions
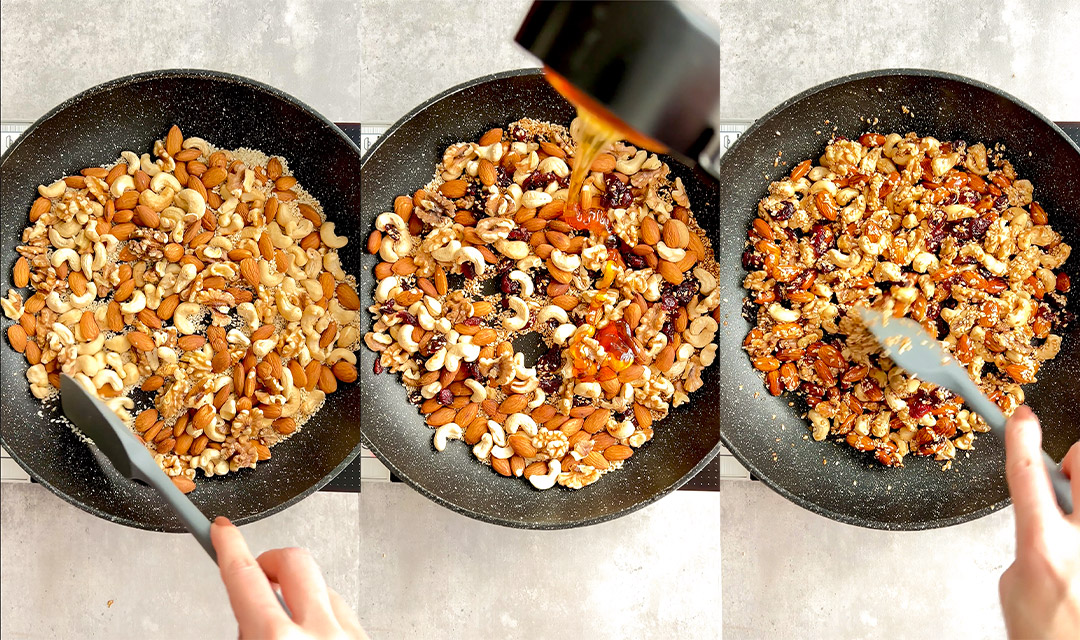
- Toast Nuts & Seeds in the PanHeat a pan over medium heat. Add the almonds, cashews, walnuts, and sesame seeds. Stir and toast them together for 4–5 minutes until fragrant and lightly golden.
- Add Cranberries & SweetenerAdd the dried cranberries to the pan. Drizzle honey or maple syrup over the mixture, and cook for an additional 2–3 minutes, stirring continuously to coat everything evenly.
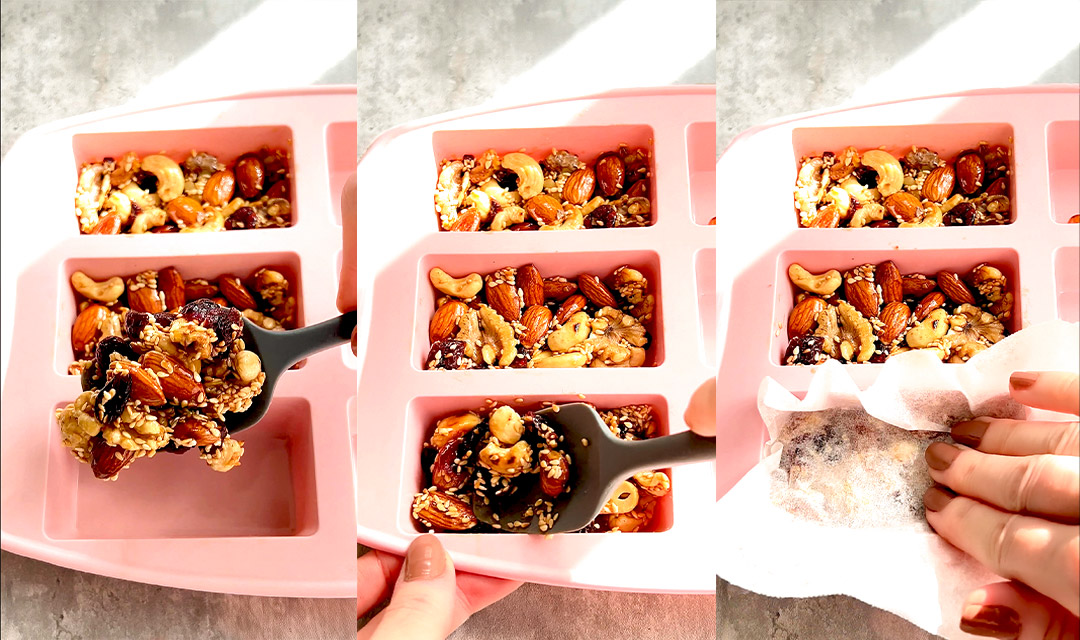
- Press & ShapeFor Silicone Bar Molds: Transfer the warm mixture directly into each silicone bar mold. Use a rubber spatula to press down the mixture firmly, shaping each bar. Alternatively, place a piece of baking paper on top and press down with your fingers if preferred.For a Loaf Tin: If you don’t have bar molds, use a loaf tin lined with baking paper. Press the mixture firmly and evenly with a rubber spatula. To smooth it out, place a piece of baking paper on top and press down with your hands to create an even, compact layer.
- Allow to Cool CompletelyLet the bars cool completely. For best results, place them in the fridge for 30 minutes or more after they’ve cooled to room temperature. This will help them firm up and make them easier to remove from the molds. If using a loaf tin, chilling also makes them easier to slice.
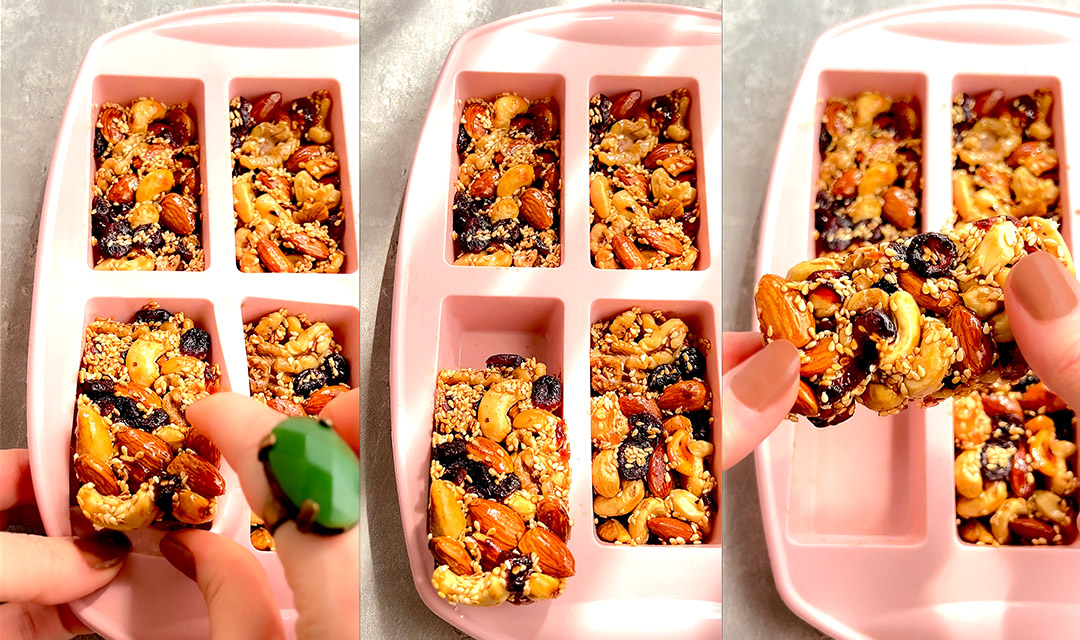
- EnjoyYour pan-made nut and seed bars are ready. For the best texture, store them in an airtight container in the fridge, where they’ll stay fresh for up to a week.
Note: These bars are great for meal prepping, providing a clean, energy-boosting snack with a satisfying combination of sweetness, crunch, and nuttiness.
Notes
Tips to Make the Best Bars
- Toast the Nuts and Seeds Properly
Toasting enhances flavor and adds a pleasant crunch. Stir frequently over medium heat to prevent burning and achieve a light golden colour. - Use a Good-Quality Pan
A non-stick or heavy-bottomed pan helps toast ingredients evenly and prevents sticking, ensuring the sweetener coats everything well without burning. - Press Firmly for Even Bars
• Silicone Moulds: Use a spatula or baking paper to press each bar down firmly. One piece of baking paper can be reused for pressing all bars.
• Loaf Tin: Line with baking paper, press the mixture firmly, and smooth the top with a second piece of paper pressed by hand. - Allow to Cool Completely
Cooling before handling helps the bars firm up. For best results, chill them in the fridge after they reach room temperature. - Store for Freshness
Refrigerate in an airtight container for up to a week. Chilling enhances texture and keeps them fresh.
Nutrition Facts per Serving
Nutrition per serving: 1 of 10 servings (~56 g each), Calories: 237 kcal, Protein: 6.2 g, Carbohydrate: 17.0 g, Net Carb: 14.1 g, Sugars: 10.2 g, Fat: 17.9 g, Saturated Fat: 2.1 g, Fiber: 2.9 g, Sodium: 40 mg, Cholesterol: 0 mgNutrition Facts Notes
- High in healthy fats from almonds, cashews, walnuts, and sesame seeds, supporting heart health and satiety.
- Provides a good source of plant-based protein (~6 g per bar) to help keep you full.
- The sugar comes naturally from honey and cranberries, offering quick energy and antioxidants, but portion control is important.
- Dietary fiber from nuts, seeds, and fruit supports digestion and helps balance blood sugar.
- Completely cholesterol-free and nutrient-dense, making it a wholesome snack option.
These values are approximate and actual values may vary based on the specific brands or type of ingredients used.
[sv slug="golbehy-End"
